
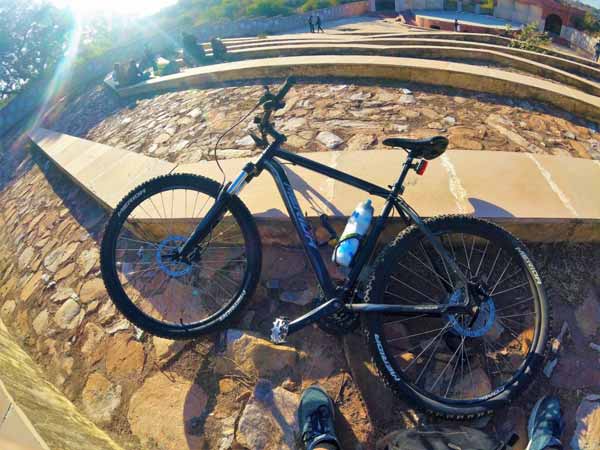
I got my first bike in the year 2017. It was an MTB, not very expensive but fairly good for a beginner. I had “Zero” knowledge about shifting gears on my bike. I was given a crash course of 2 minutes literally by the seller and was told to keep on experimenting. Shifting gears on a cycle is pretty complicated. But it’s fun if you learn the basics of it. If you are confused as to which bike you should buy, check out this article.
Bottom Line: Shifting gears make pedalling easy, irrespective of the terrain you are riding on.
I remember the first day I took my bike out for a ride, ended up jamming the chain in the front wheel cogs. Furthermore, the ride was not that entertaining and it ended up my bike being in a closet for a week. But I did not quit! I decided to learn the art of shifting gears on my bike. I am putting this article together for people who have just picked up cycling.
Depending upon different terrain, you will have to shift gears accordingly. Posting a video as well for a better understanding of shifting gears.
Understanding cycle gears
In any geared cycle there are usually two to three chainrings in the front, and 7 to 9 cogs in the back. If you move the chain or in other words shift the chain from the smallest cog to biggest cog, the pedalling becomes easier with each bigger cog. If you shift the chain in the front, chainrings which are smaller are easier to pedal than the big chainring. Usually the shifters for each gear set on your handlebar. Right shifters change rear cogs and left shifters on your handlebar changes front chainrings.
Tip: Right shifter is for “Rear”! Make you remember the shifters easy!
Terrain Type: Flat Road
I love riding MTB and not a great fan of hybrid or a road bike. Hence I hate float roads. When you live in the city, you really can’t avoid flat roads. I mean, we have few trails in the city, but I need to cover long chunks of flat roads to reach the trails. In the last one year, I rode almost 10,000 plus kilometres on my MTB. Sometimes in the city, sometimes intercity. Now the gear pattern that I use is, that I ride with my chain in chainring 2 or 3 in front hub and the back cogs I keep on changing.
Terrain Type: Incline
This terrain type is the most difficult if you do not know the correct gear combination. Look! the gears on your bikes are to make pedalling easy. If that is not accomplished then the idea or having gears is not fulfilled. Most of my friends have issues in climbing hills or any incline for that matter. Now if you like riding incline and love doing that high-intensity workout, then I would suggest keeping the chain in front chainring in gear 1 or 2 maximum. You can change the chain in the rear cog depending on the resistance your legs are OK with. Smaller cog means more resistance and larger distance covered, and vice versa.
Terrain Type: Off Road, Trails
This terrain is not just difficult, it is unforgiving. Wrong gear combination and you along with your MTB would come crashing down like a meteor. I would suggest practicing shifting gears on a flat or inclined terrain. In the above two terrain types shifting gears is easy as you have time. In off-road and downhill trails time goes by fast and changing of gears sometimes is in a fraction of a second. Although there is no set gear combination for this type of terrain, however, I normally ride in front 2 and rear 3 to 7 combination.
What not to do while shifting cycle gears! important!
Avoid cross chaining please, this would help you in increasing the life of your chainset. In simple words cross chaining means the chain is connected to extreme cogs in comparison to front chainrings. i.e the chain is extremely slanted, either in big chainring up front and the biggest chain cog in the back or small chainring up front and big chain cog at the back. This would put additional stress on your chain, which will result in the chain being stressed and might damage your chain. it also makes the gear shifting difficult.
Cheat Sheet Of Shifting Cycle Gears!
For: Uphills and Inclines
Use: Small or middle front chainring + bigger rear sprockets
For: Downhills & Declines
Use: Large front chain ring + a range of rear sprockets
For: Flat terrain
Use: Small or middle front chainring + smaller rear sprockets
I hope you enjoyed reading the article, if you have any question please drop a comment at the bottom of the page. Would be happy to hear your inputs.
Also putting up a video for the same for you guys! For more video content check out my YouTube channel.